RotaryCell / build guide
Test calls and adjust audio
Keep the case open so both level trimmers remain accessible. Before placing a call, set both trimmers to approximately the middle of their travel. Halfway is a good starting point; the final settings depend on the telephone, handset and how loudly its carbon microphone speaks.
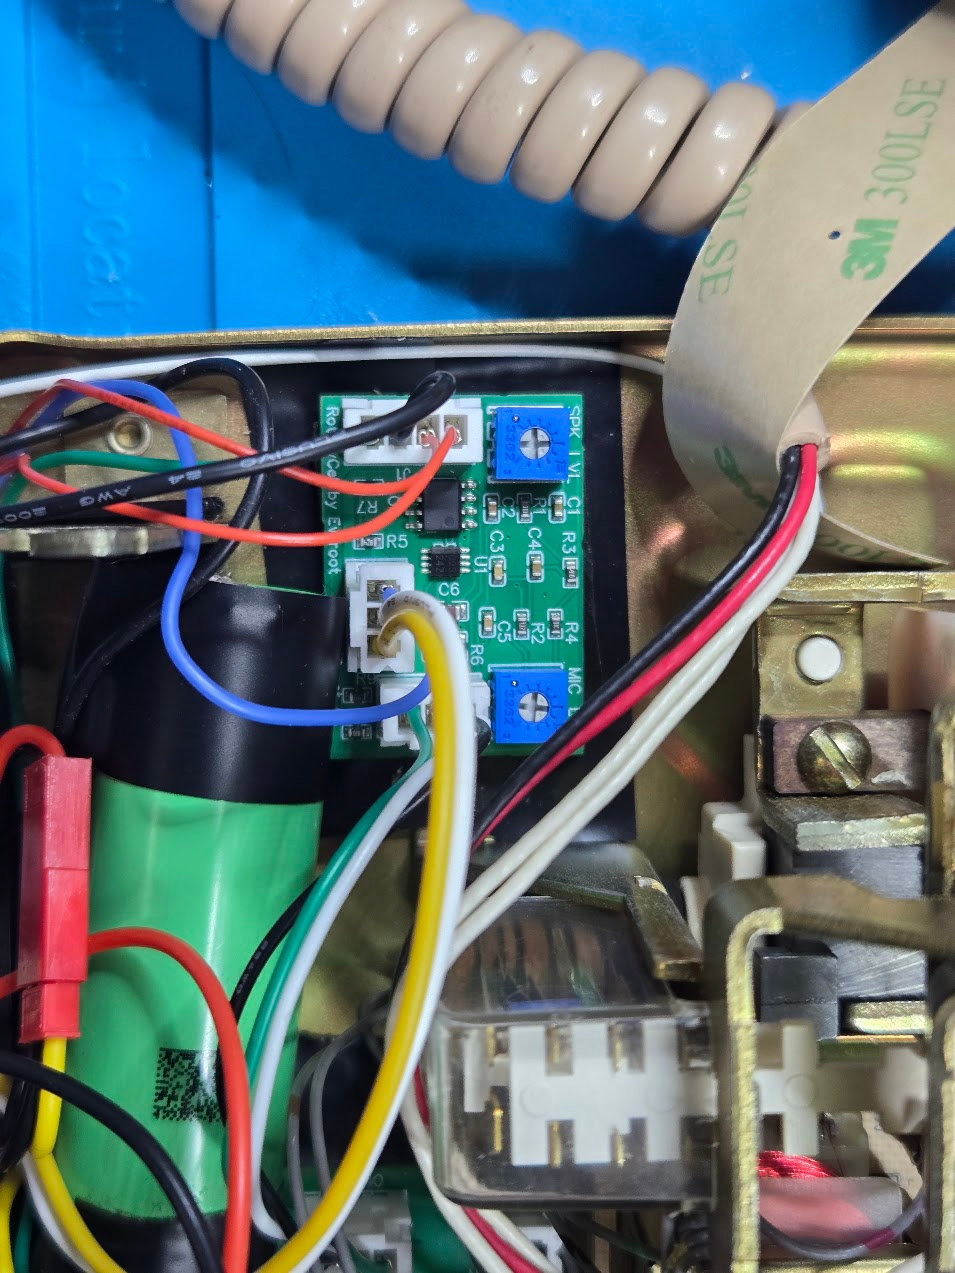
Use a small screwdriver and move each trimmer only a little at a time. Do not force it past either end of its adjustment range.
- Lift the handset and confirm that the dial tone is comfortably audible.
- Place an outgoing call. Confirm that you hear ringback and that both people can hear one another after the call is answered.
- Adjust SPK_LVL for a clear, comfortable earpiece level without harshness or distortion.
- Speak at a normal distance and volume while the other person listens. Adjust MIC_LVL until your voice is clear without clipping or excessive background noise.
- Place an incoming call and confirm that the telephone rings, answers, and again carries audio in both directions.
The microphone trimmer can also change how much sidetone you hear in your own earpiece, so judge microphone level primarily from the other telephone. Repeat the outgoing and incoming tests after the case is fitted; the closed housing can make the perceived level slightly different.