RotaryCell / build guide
Close the case
After the open-case tests and audio adjustment, lower the dial assembly back over its two mounting posts. Guide the new wiring into the open spaces around the network block rather than under the dial or hookswitch mechanism, then tighten the two flathead screws loosened during disassembly.
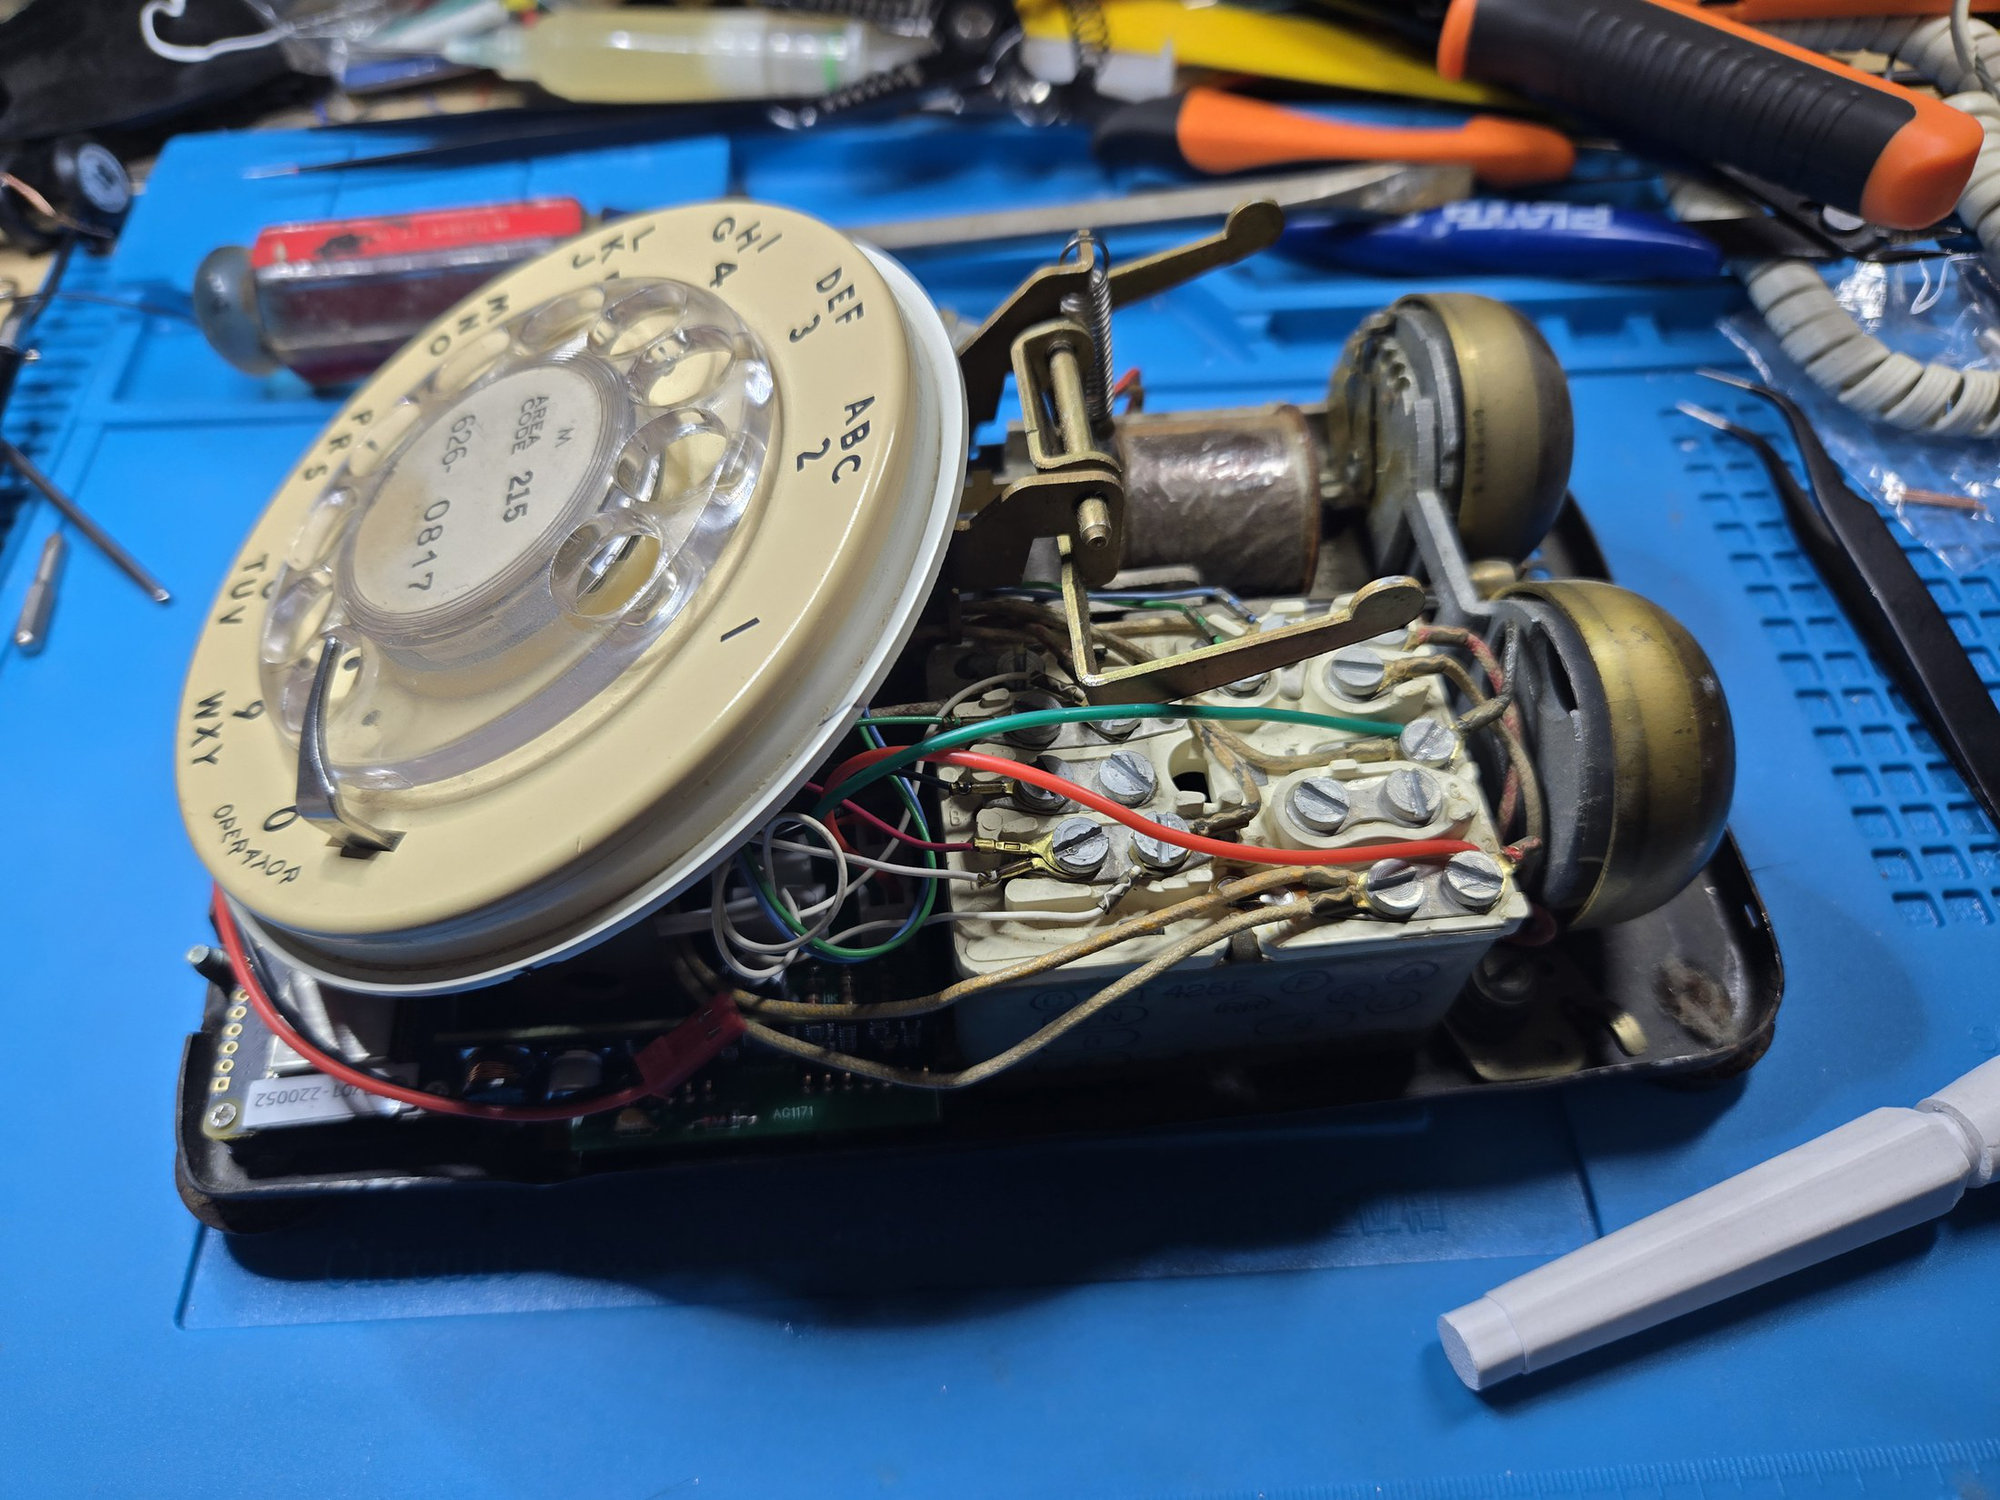
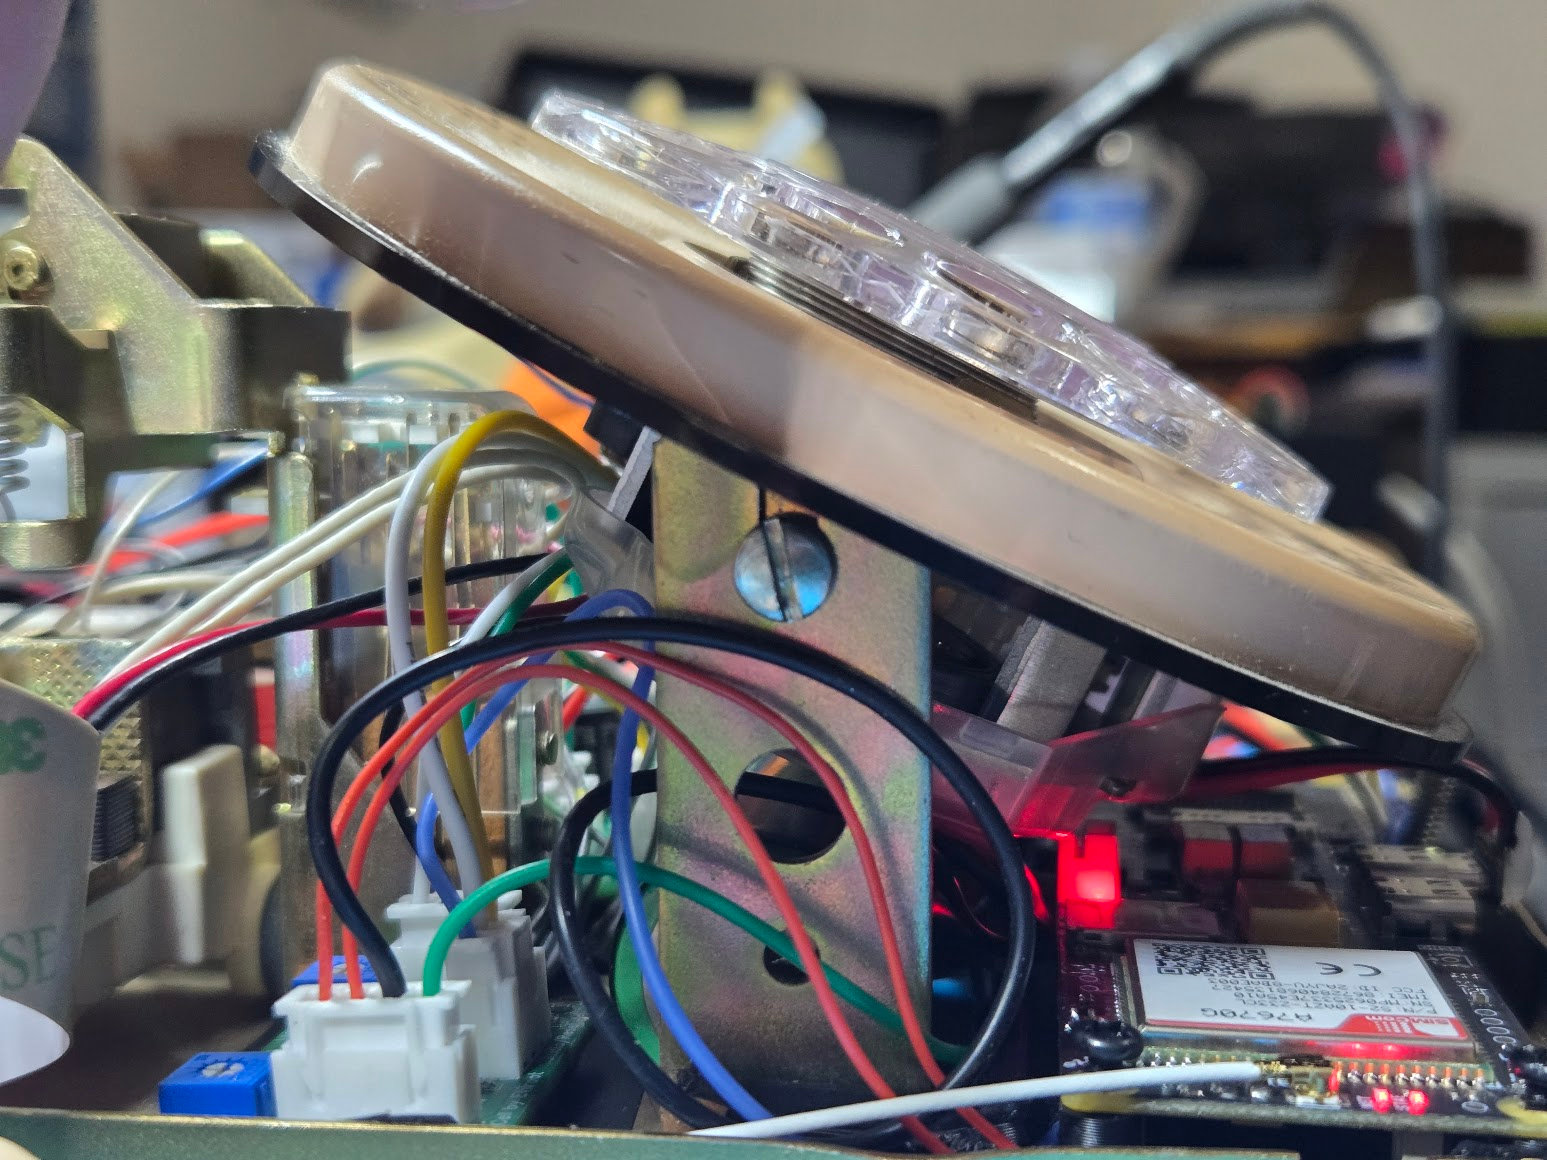
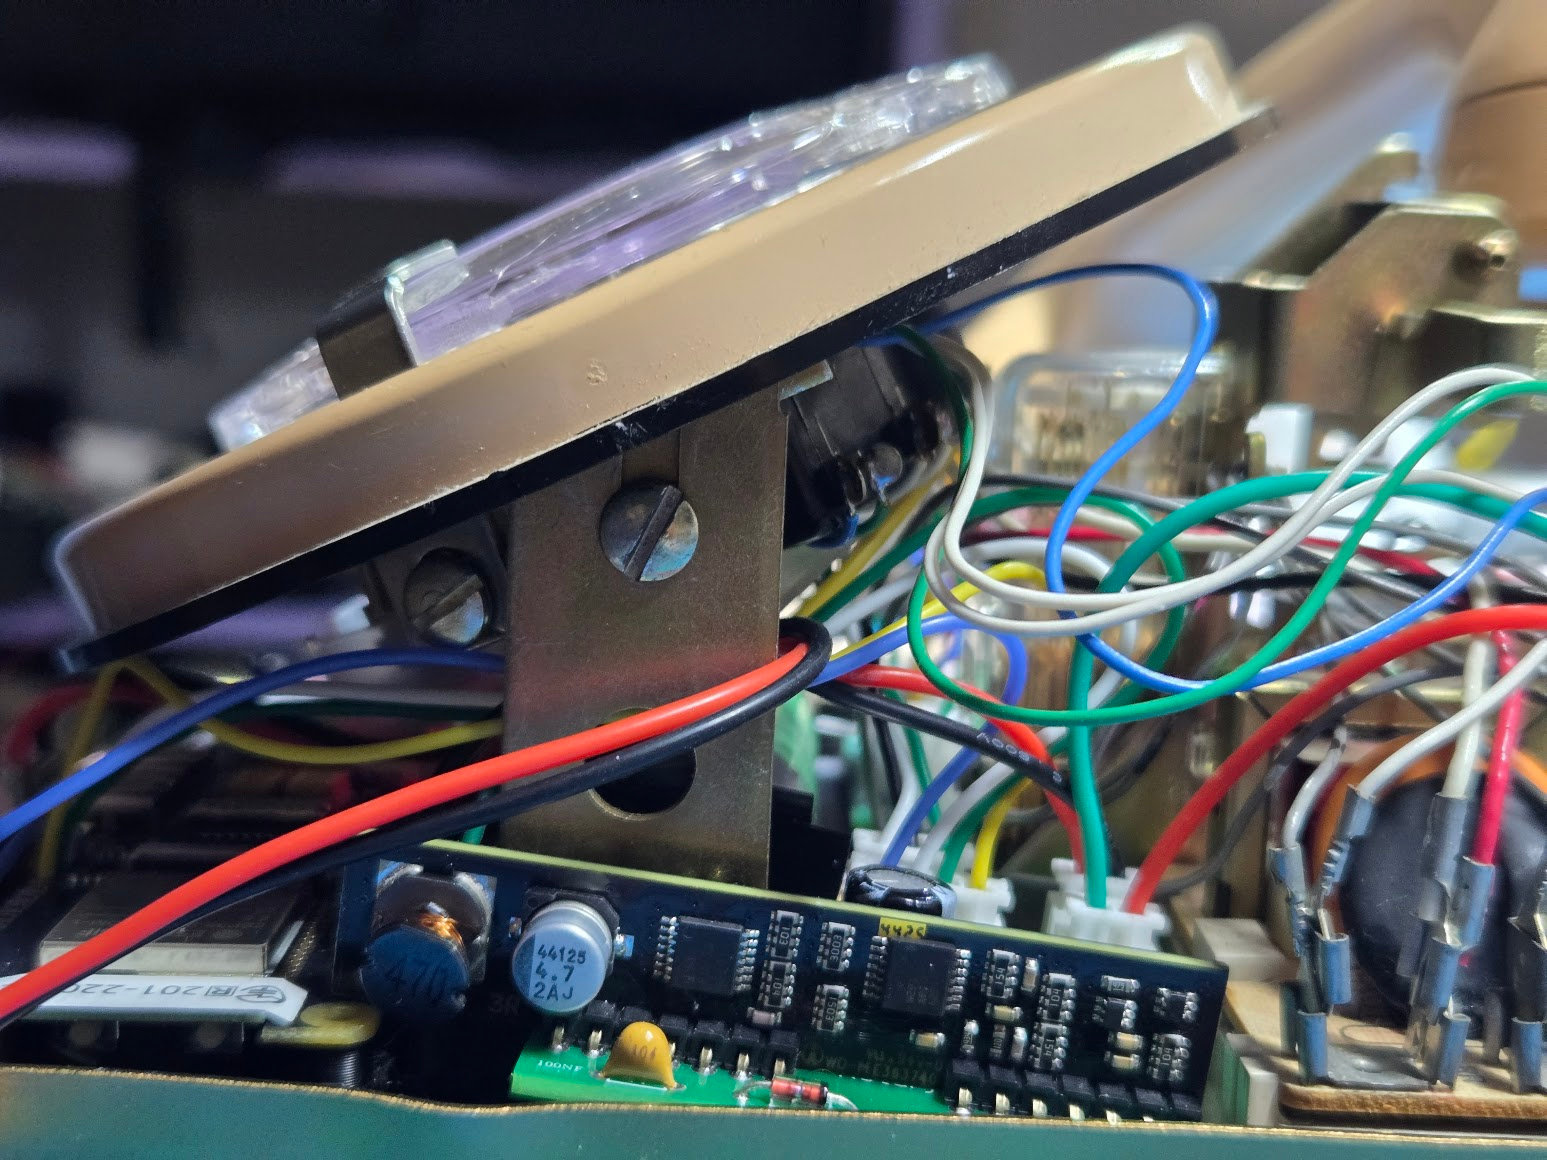
Operate the hookswitch and turn the dial once while the case is still open. If both move freely, refit the shell and tighten the two housing screws.
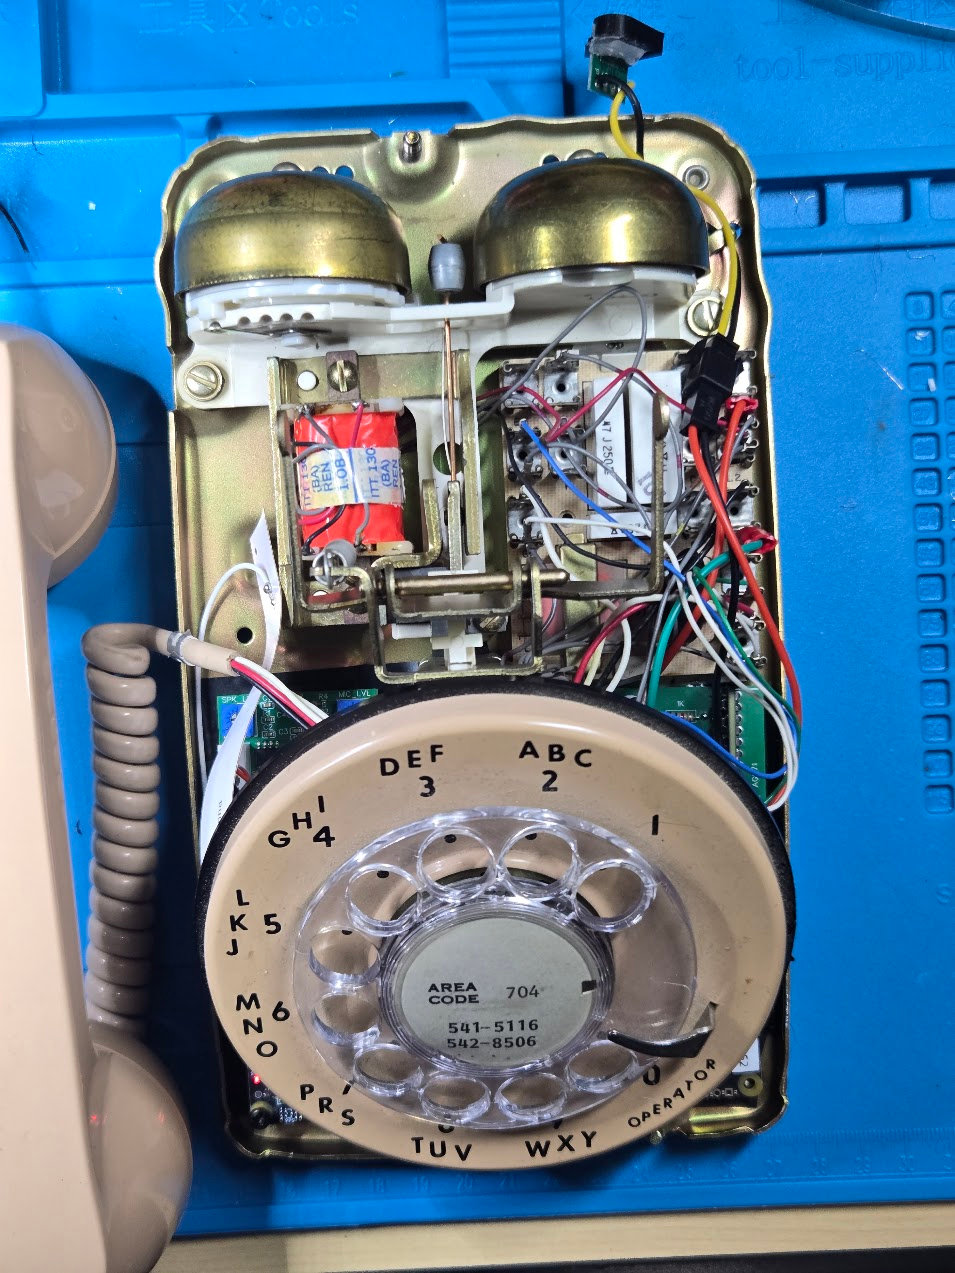
Compare the open phone with this general layout: wiring stays below the top edge of the base, clear of the bell clappers, dial mechanism, hookswitch and housing screw locations. Network blocks and original telephone wiring vary, so follow the labeled harness connections and the photographs you took during disassembly.
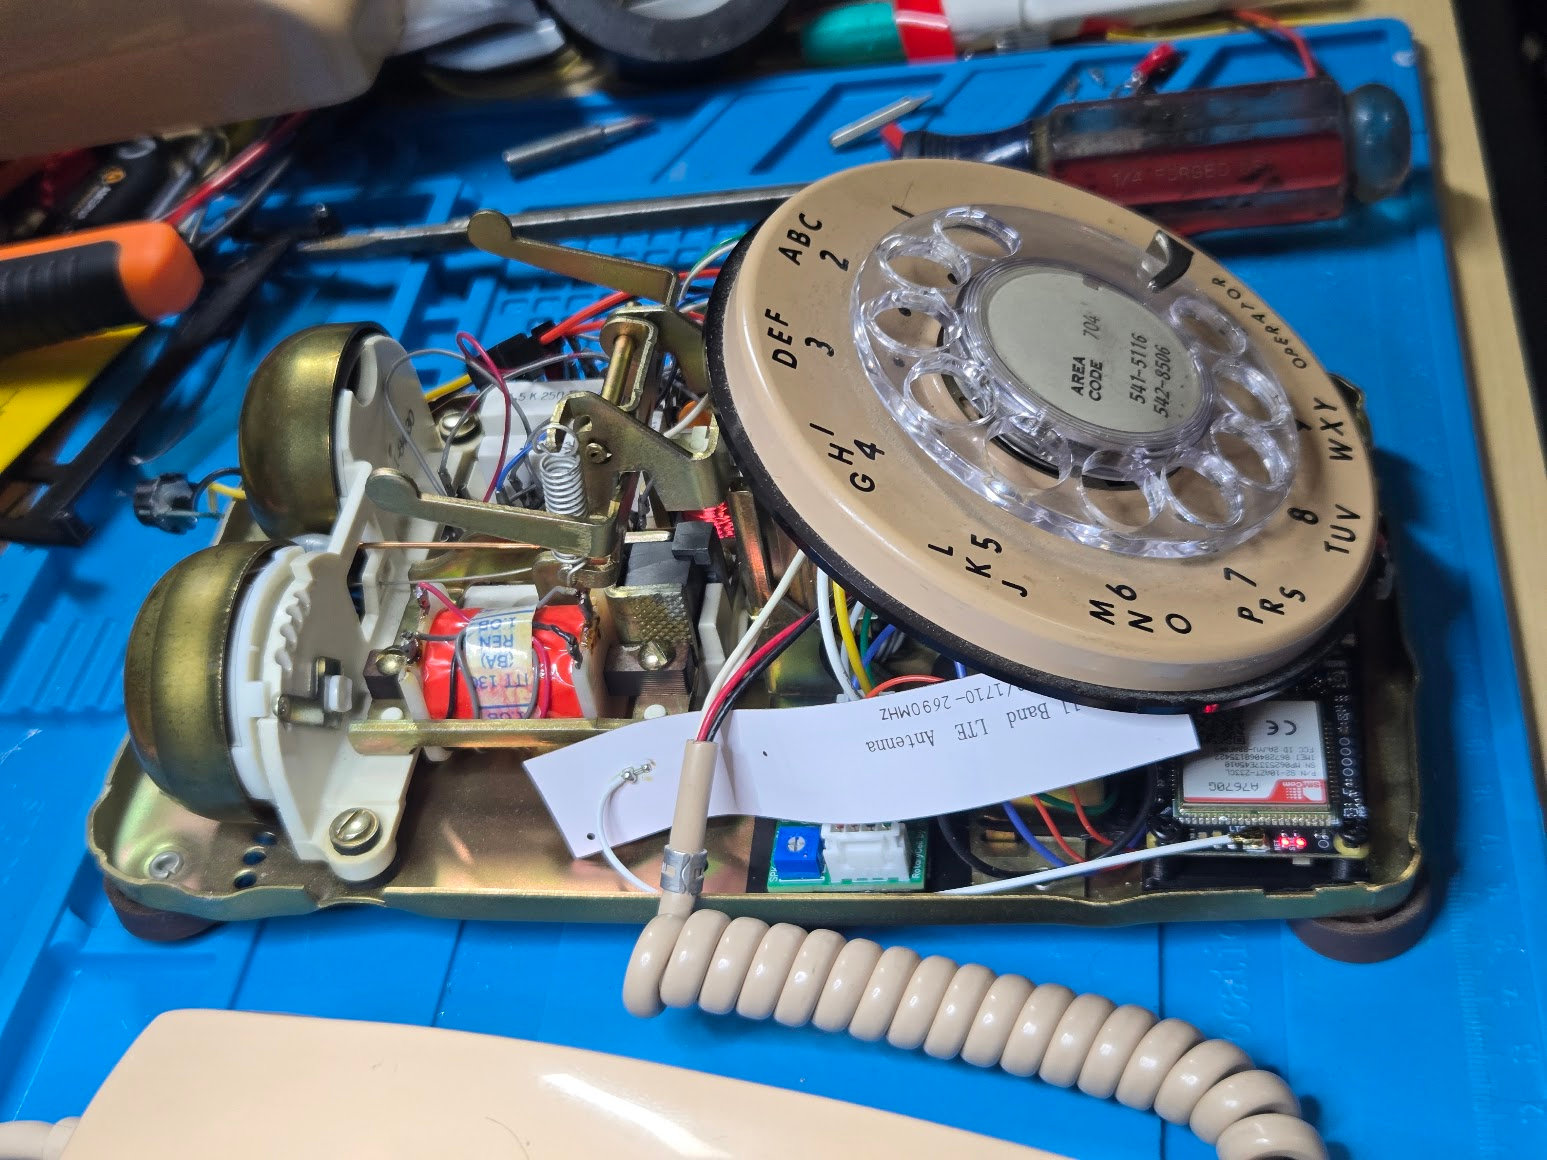
Lay the LTE antenna flat in the available space and route its thin coaxial lead with a relaxed bend. Do not crease the antenna, pull on its tiny connector, or trap either piece beneath the dial frame. Lower the dial slowly and watch from the side to confirm that the mechanism and antenna do not touch.